Choosing a view
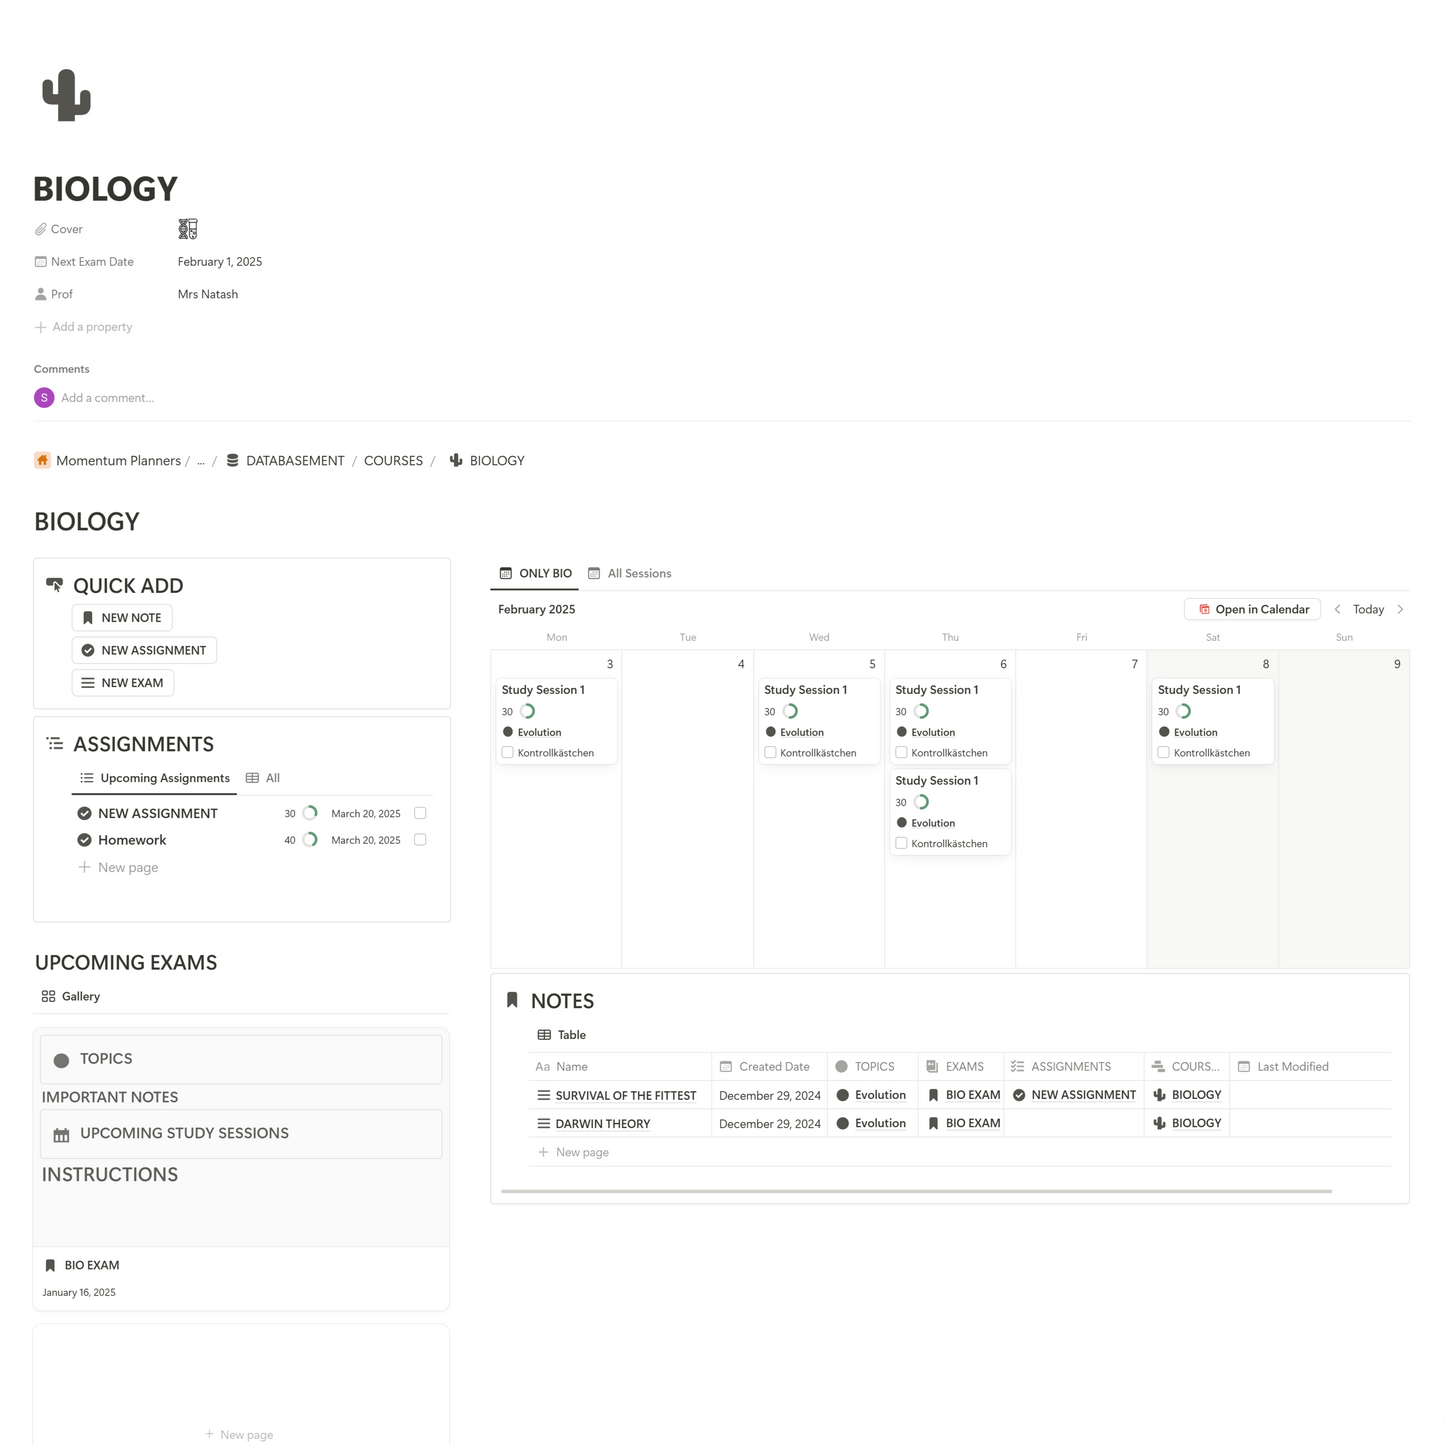
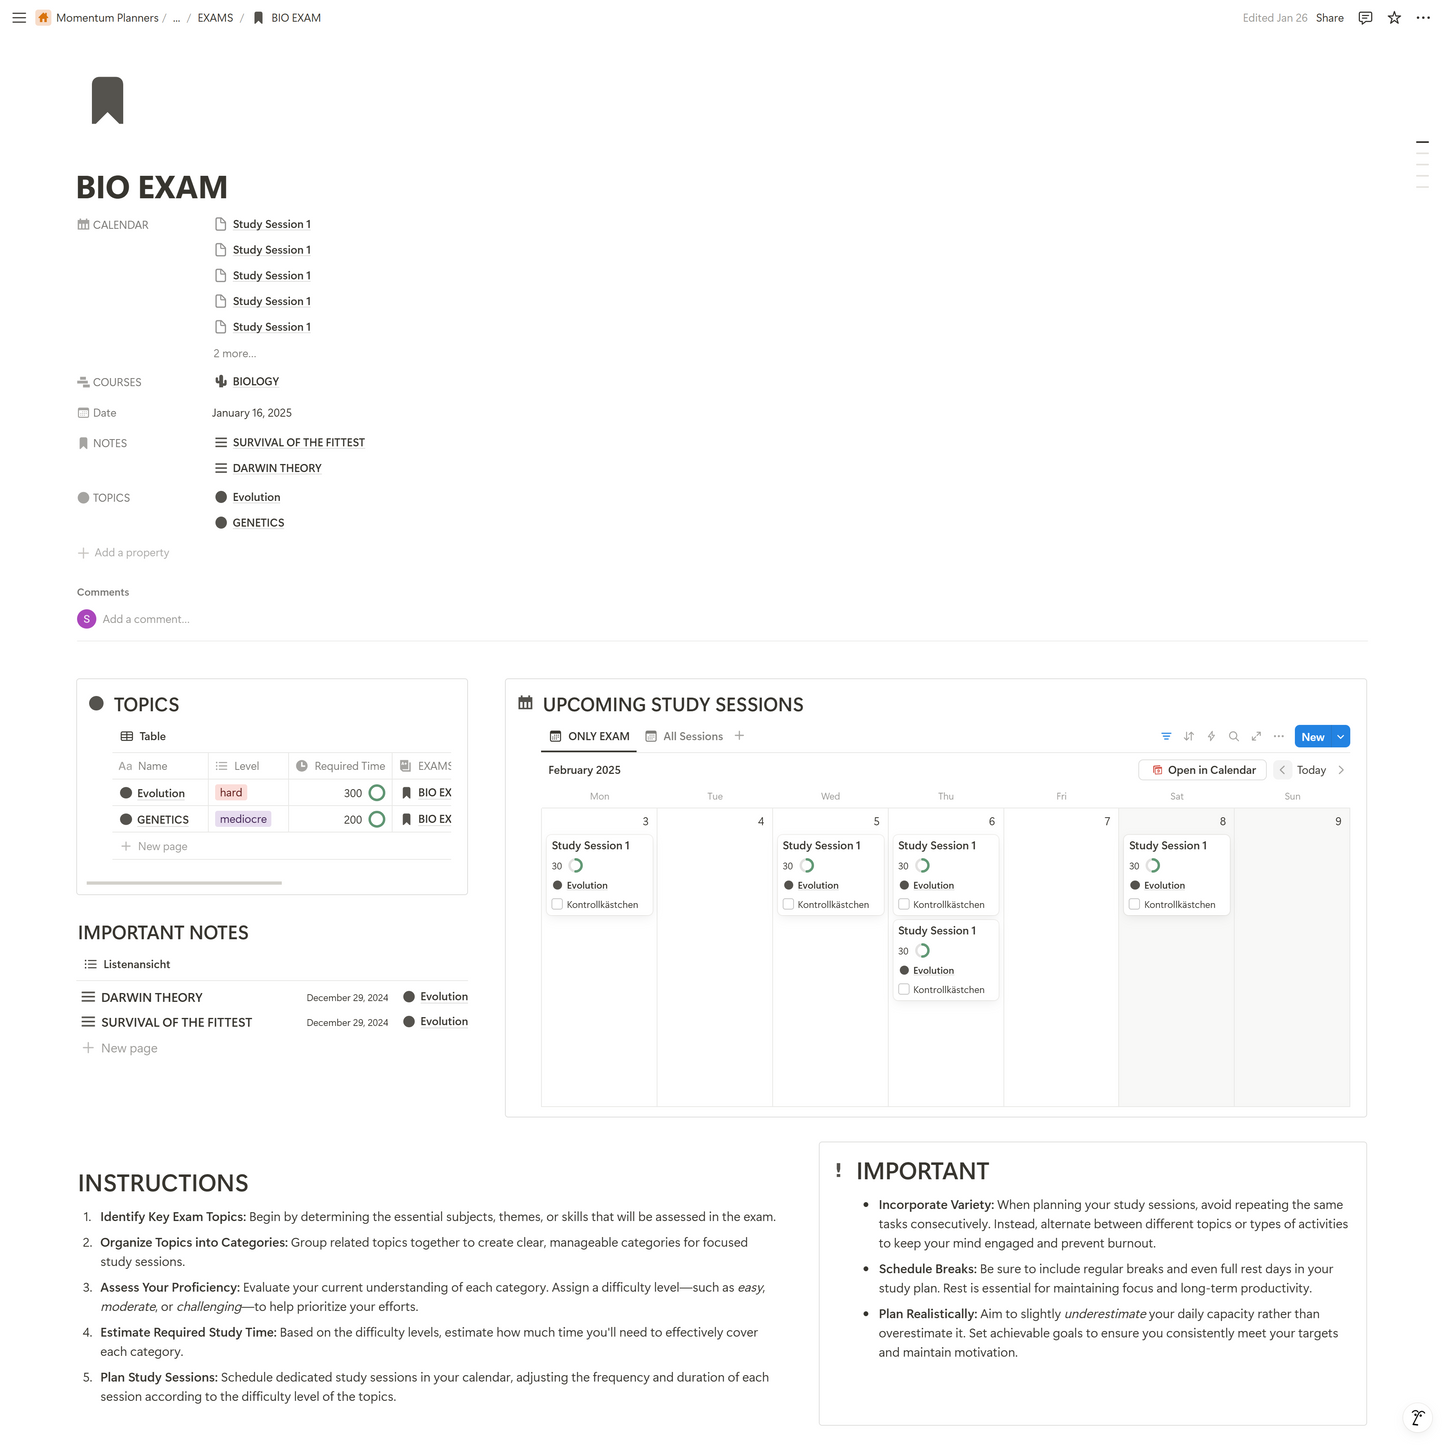
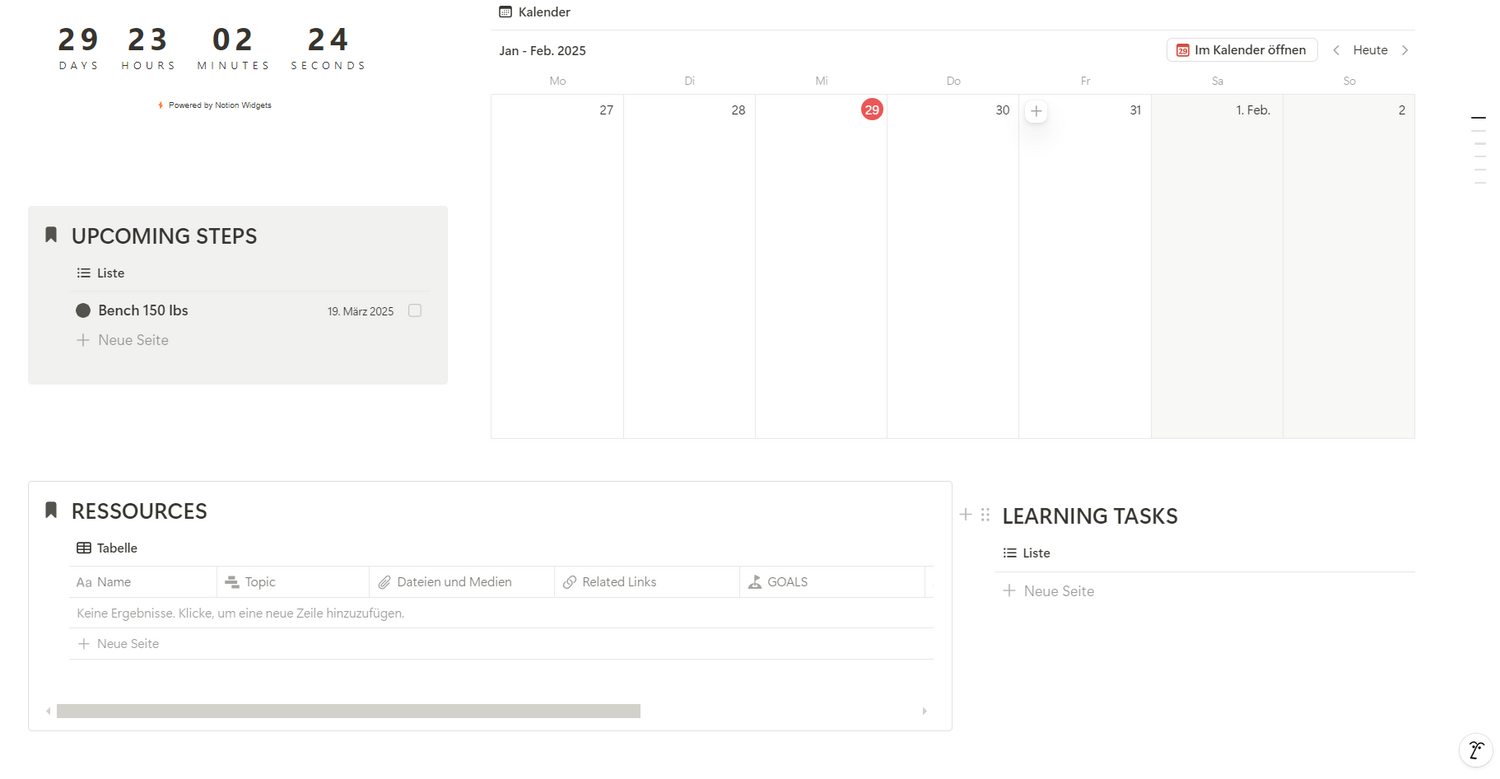
First of all, you'll have to choose a view. Do you want a calendar view, which for example shows all your tasks in a calendar, do you want a list view, much like a todo list or do you want a table allowing you to quickly and easily change all properties of a task. This subpage of a goal planner incorportates calendar, list and table views for a more structured and asthetic look.
Creating a new view
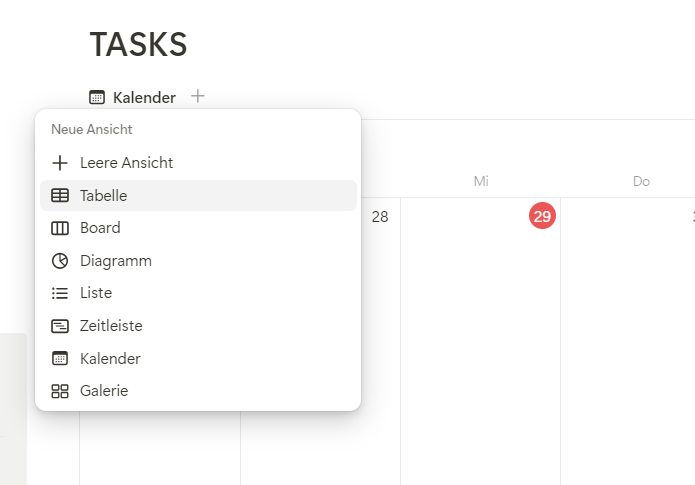
To create a new view, click on the + right next to the current view. From there choose your chosen view and click on it.
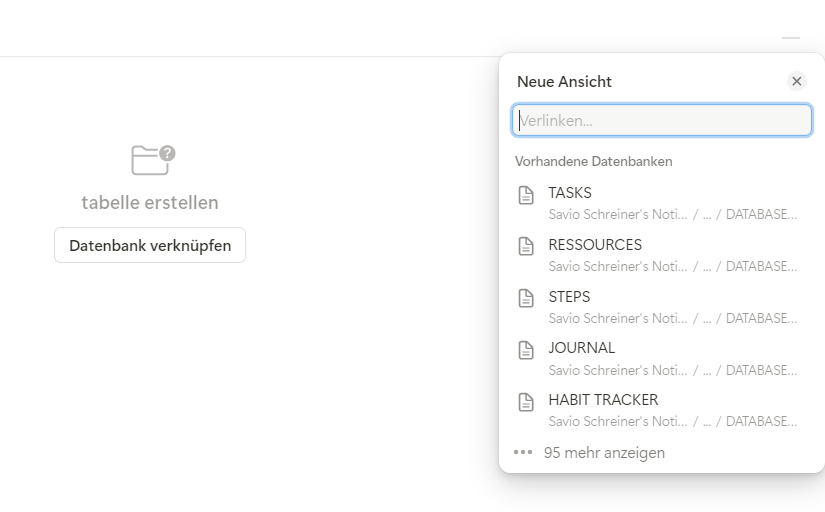
Link your view to a databse
Once you've created a new view, you'll have to connect it to a database. For this tutorial we will select the TASKS database, as all our tasks are writen down there.
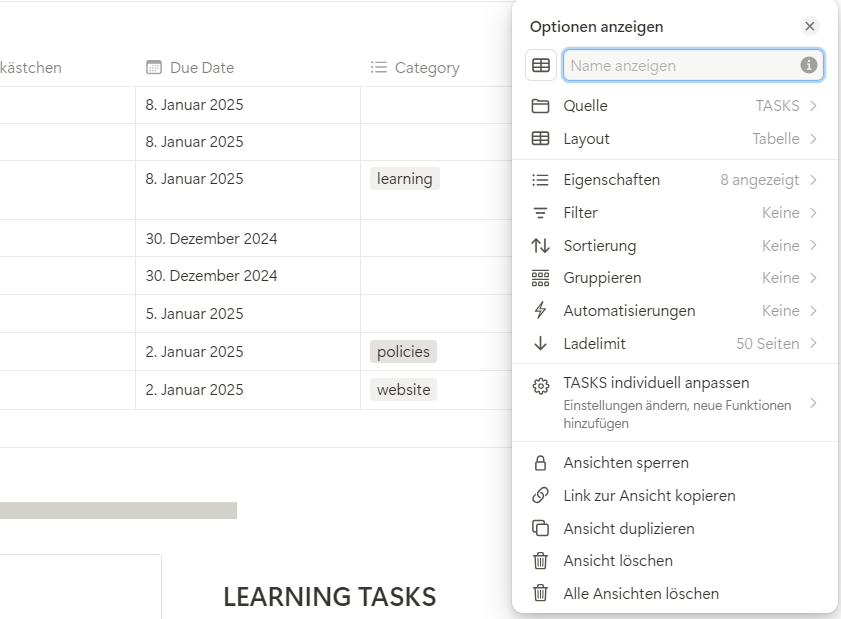
Customize View
To customize your view by e.g. creating filters and groups, you will be shown a little page, where you can add such. Filters help you filter many database entries e.g. if you only want to see unchecked tasks, the sort function allows you to sort your entries, e.g. by their date, and the group function allows you to group your entries, e.g. by category.
Adding a filter
To add a filter, click on filter, when customizing your view. Then choose a property you want to filter by. In this example we are going to filter all of our task by their dates. We only want to see those which are due this week.
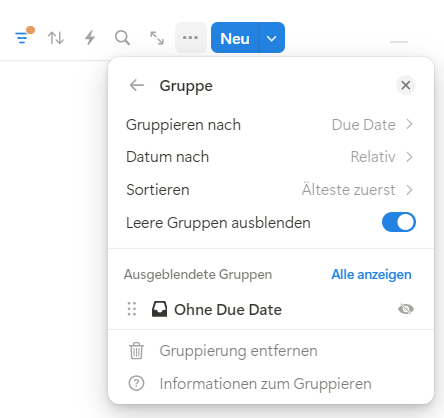
Group entries
Group entries easily using the grouping function, which allows you to group entries by their properties. For example, we can group all of our tasks by their due date, having all task that are due this week in one group and all due next week in a different group.